Ultimate Guide to Using Midjourney Website! 💻
Image Generation, Batch download and Smart Organisation with Ease!
Exciting News! Midjourney Website is available for everyone!
With Midjourney's new website, you can now create and organize images, reuse images and prompts and get inspired!
Today, let me share how you can fully utilize the features on the website!

Midjourney Website
There are five main sections on the website:
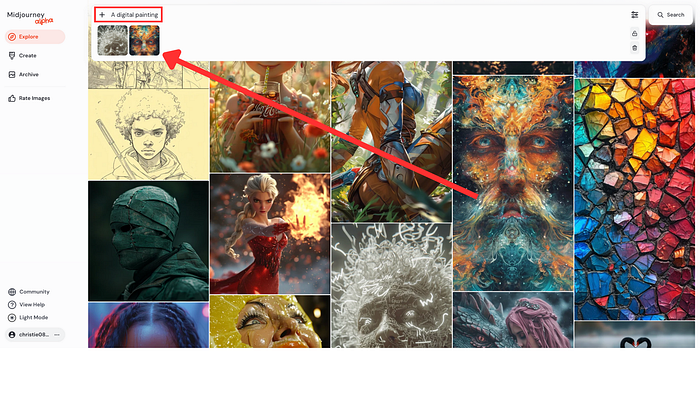
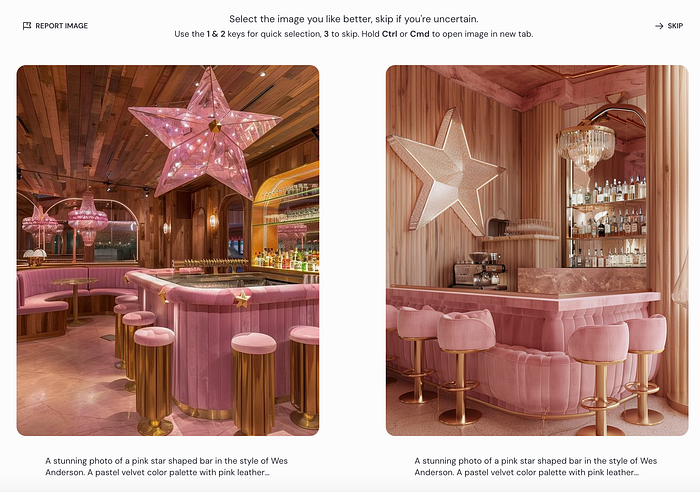
1. Explore
- Get Inspiration: Images are placed in Random/Hot/Top/Likes
- Images Created from Other Users: You can reuse the prompt or even image as an image prompt easily. Learn how to do that in a later section.

2. Create
- Image Creation: Easily generate images and reuse prompts. Now, you can generate images on the Midjourney website with the textbox located on the top.
- Image and Style Reference: Use Image/Prompt/Style
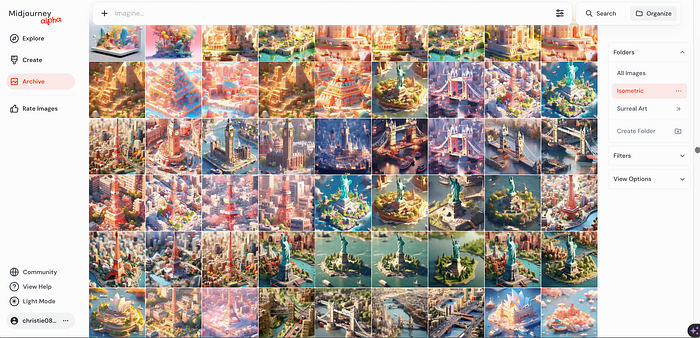
3. Archive
- Organize: Group and organize images easily
- View Customization: Layout and image size
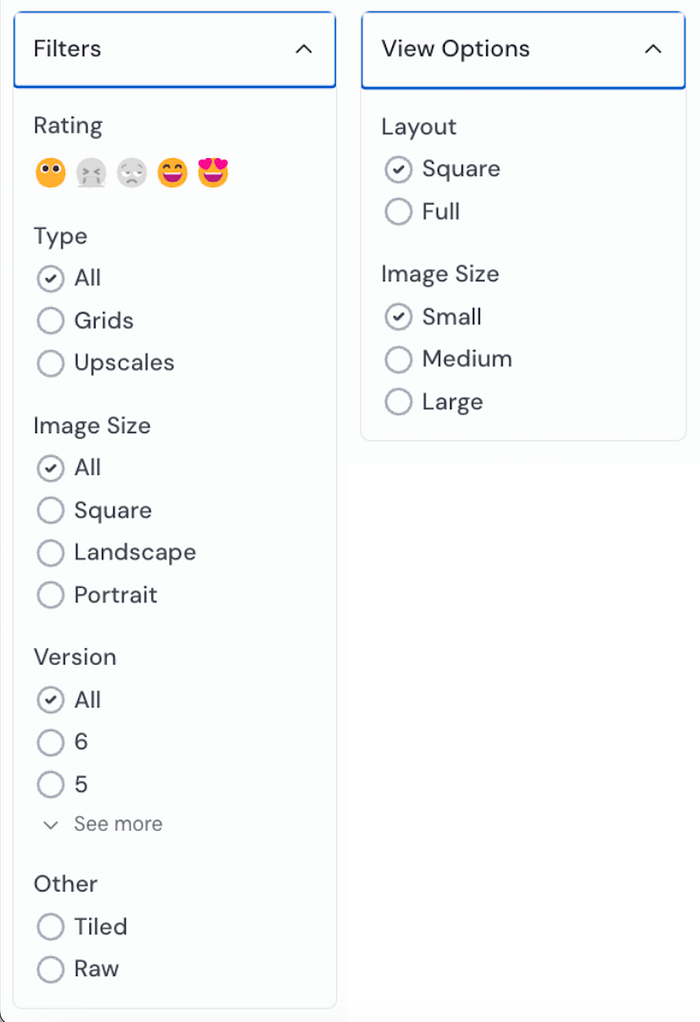
- Filters: Filter images with options like image size, version, type or more
4. Rooms
New ways to share and engage with Midjourney creations. It offers live chat, prompt sharing and brainstoring ideas.
5. Others
- Rate Images: Rate Images that you like more to personalise your model
- Rate Ideas: Submit feedback to Midjourney
- News: Latest announcement and changelog
Today, let me share with you the way to work with the Alpha Midjourney Website to create and organize images
- Section One: Create
- Section Two: Archive
- Section Three: Rooms
- Section Four: Others

Section One: Create
1. Image Generation
You can now create images easily on the website with the Imagine textbox located on the top part of the website.

How do you generate an image on the Midjourney Website?
- Step 1: Go to the “ Imagine” textbox
- Step 2: Type in words that describe the image you want to create, you can type a general description or be more specific adding styles and details.
- Step 3: Adjust parameters
- Step 4: Press “Enter” and your images will be generated
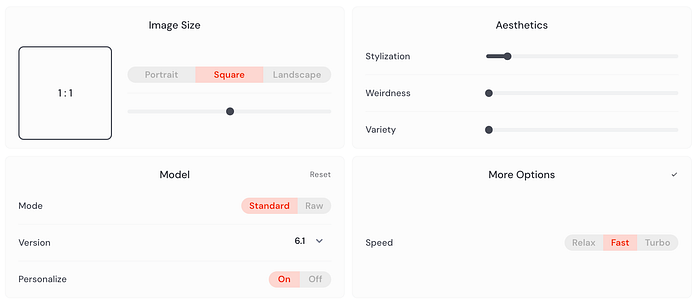
The website allows you to adjust the parameters easily including
- Aspect Ratio: Image size
- Mode: Standard/Raw
- Version: Midjourney version
- Personalize: Toggle on/off to add your personal style
- Stylization: Application of Midjourney’s default aesthetic style.
- Weirdness: Adds unusual aesthetics.
- Variety (Chaos): Unusual and unexpected results.
- Speed: Relax/Fast/Turbo
The images you created will then appear down below.
2. Further Customisation
You also have the option to perform the following actions without needing to upscale an image:

Once you go into the lightbox, you can access more functionalities
- Vary ( Subtle & Strong ): Make variation
- Upscale (Sutble/Creative): Upscale the image
- Remix (Sutble/ Strong): Remix the prompt
- Pan ( Up/Down/Left/Right): Expand the image to 4 directions
- Zoom ( 1.5/2 ): Expand the image
- Rerun: Rerun the Prompt
- Reframe: Change aspect ratio
- Repaint: Inpaint
- Use: Image/Style/Prompt
Change AR
If you have read my recent updates on Midjourney, you will know that the “Change AR” allows you to easily change the asepct ratio with the dragging bar on the Midjourney website.


3. Image Prompt & Blend Made Easy
With the Midjourney website, you can prompt easily with images with blend and image prompts.
Blend: The blend command allows you to upload 2–5 images and merge the aesthetics.
With the website now, you can easily upload a photo:
- Step 1. Press the “+” icon
- Step 2. Choose a file or drop a file
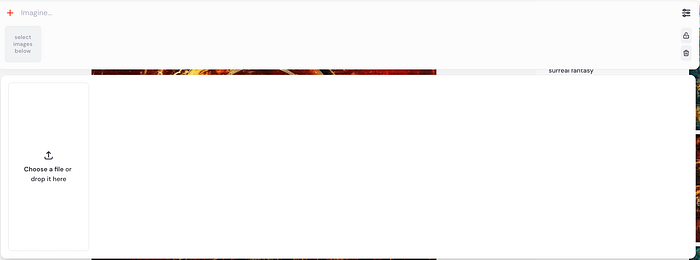
Alternatively, you can directly drag and drop images that you created directly to the “ Imagine” textbox.
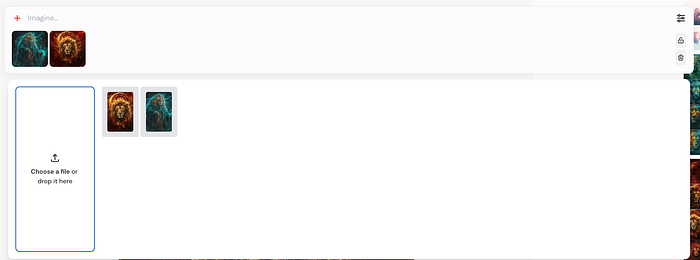
Click “ Create”
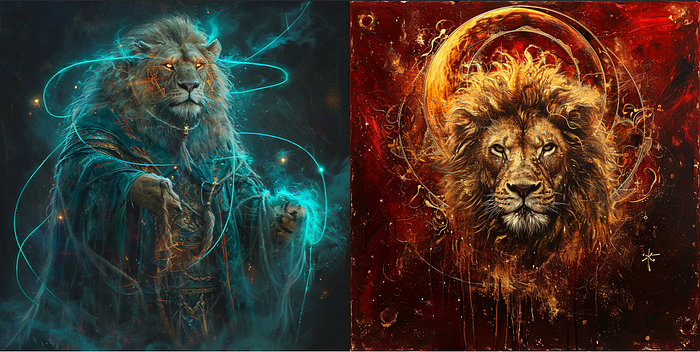
Here is the result of blending two images.
⭐️ Extra: User other’s Images
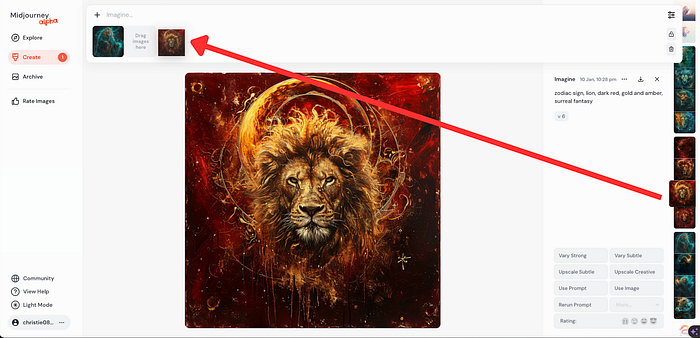
You can even use others’ images easily for “blend” or as an “image prompt” simply by dragging the image into the textbox like what I show you above.
4. Style & Character References
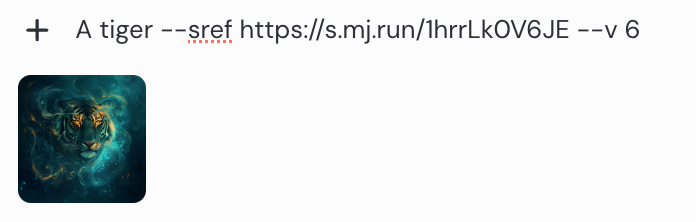
You can do the same with Midjourney V6 New “Style References” by including a URL or dragging the image.
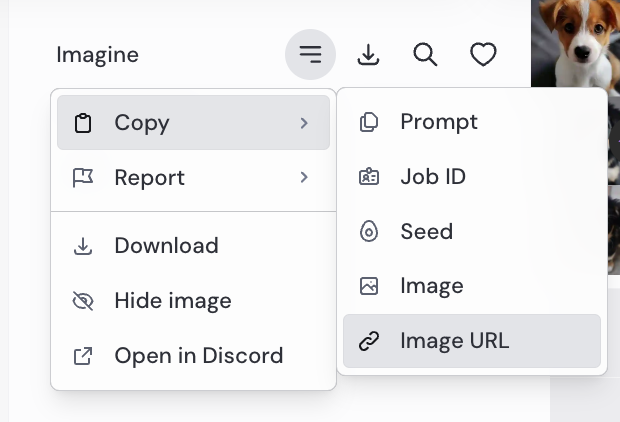
Step 1: Copy the URL of the Image
Upon generating a new image, right-click to access the URL of the image or Copy the Image URL from the lightbox.
Step 2: Include the URL with the parameter "--sref"
Add the URL after the command --sreflike this below

Extra: Image Prompt with Style References
You can also include an image prompt together with “Style References”.
👉🏻 How to tell if you use an Image Prompt or Style References?
There will be a pin 📌 if the image is used as a “Style References”

Learn more about “Style References” here where I share four advanced tips to fully optimise the feature:
NEW! Three Icons on the image ⭐️
With the release of the new “Character Reference”, you can now work with Style, Character and Image Reference even more conveniently!
After uploading an image, there will now be three icons for you to select when you hover over the image.

- Character Reference(
--cref): Inspired by key character attributes. - Style Reference(
--sref): Inspired by visual style only. - Image Prompt (
URL in prompt): Inspired by composition, style, subject.
Select according to your preference, and you can generate an image together with your text prompt.

Section Two: Archive
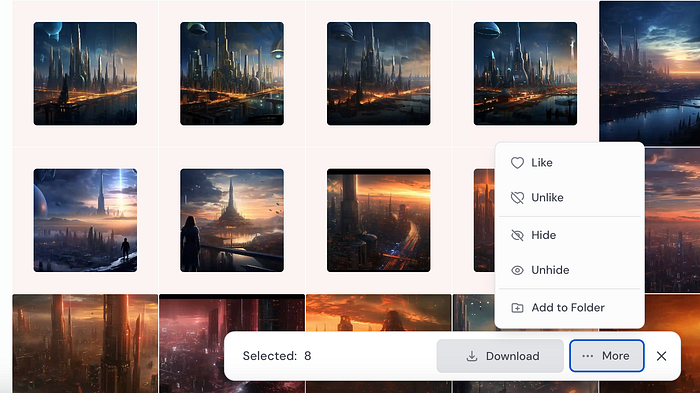
1. Batch Download and More
You can now select more than one image at a time and download them in batches or take more actions like “Like, Hide or Add to Folder.”
2. Create a Folder for Organization
The Midjourney website allows for creating folders for categorisation.
- Step 1: Head over to “ Archive”
- Step 2: Select “Organise” from the top right corner
- Step 3: Select “ Folder” and click “Create Folder”
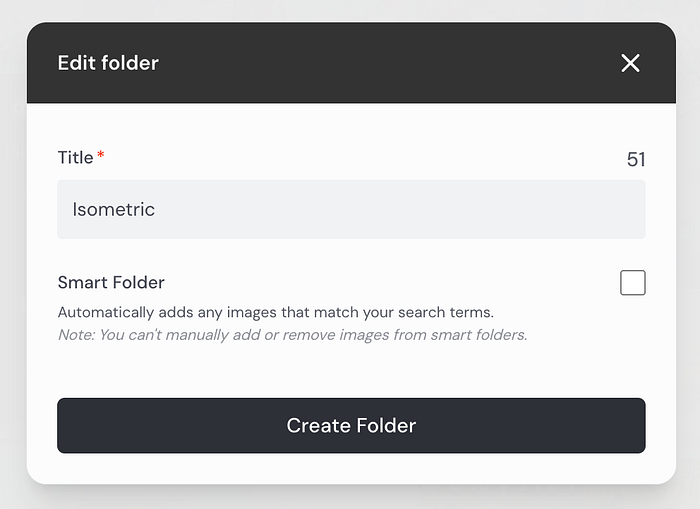
- Step 3: Select “ Smart Folder”
- Step 4: Input the keywords used in your prompt in “Search Terms”, for example “ Isometric”
- Step 5: Give it a Title
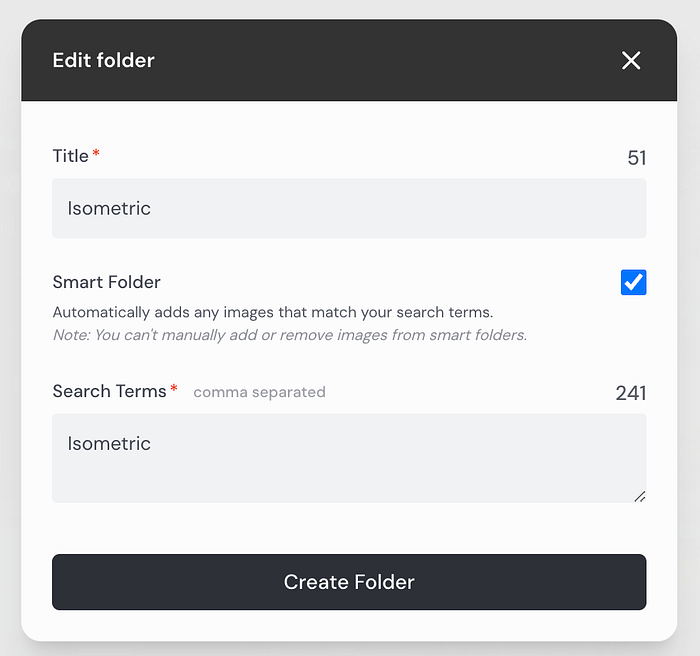
- Step 6: Create Folder
3. View and Filter Customization
You can now have more options when filtering images to customize the view
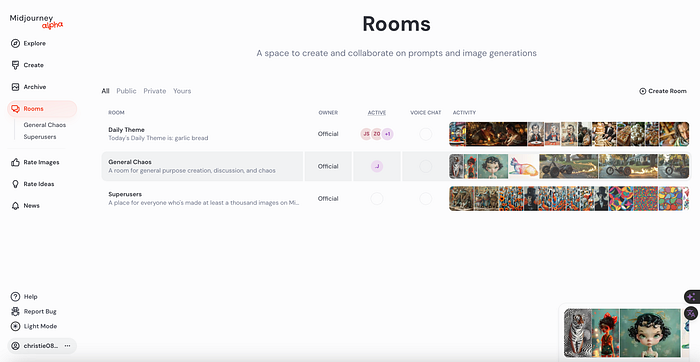
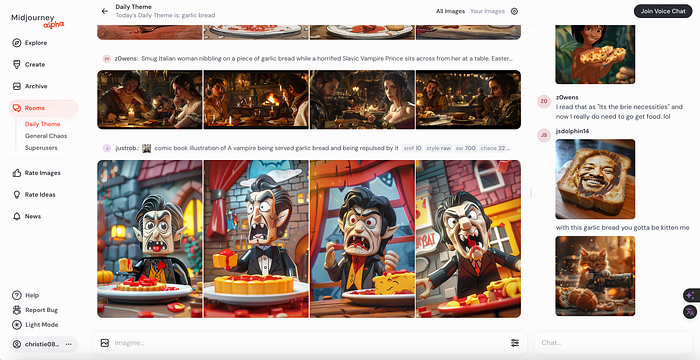
Section Three: Rooms
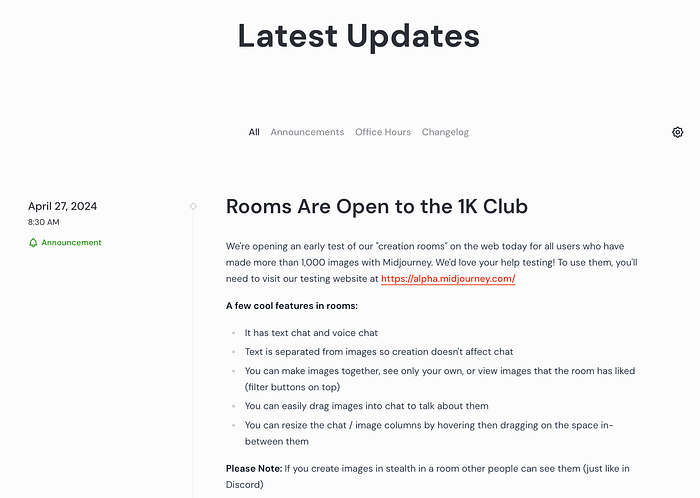
⭐️ A new collaborative playground
Midjourney just upgraded the web-based ‘group creation rooms’ and are opening it up to everyone who has at least 1000 images.
New ways to share and engage with Midjourney creations
- 🎨 Innovative Collaboration: Real-time platform for interactive problem-solving and creative idea sharing.
- 🎨 Open Environment: Users can share images, ask questions, and receive immediate feedback.
⭐️ Cool Features in Rooms:
- Text chat and voice chat
- Text is separated from images so creation doesn’t affect the chat
- Drag images into chat to talk about them
- Resize the chat/image columns by hovering and then dragging on the space in between them
- You can make images together, see only your own, or view images that the room has liked (filter buttons on top)
- Create Your “Private Room”

Section Four: Others
1. Rate Images
Rate images to help Midjourney understand more of users’ preferences. It is also useful to personalize your model in the future.
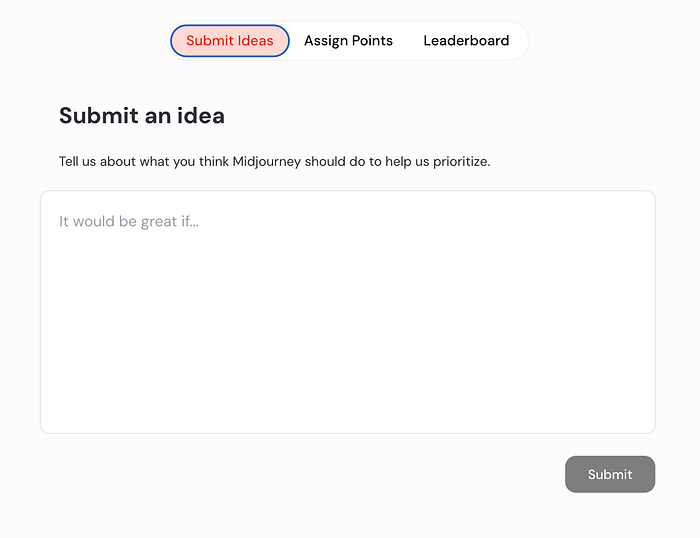
2. Rate Ideas
Allows you to submit feedback about what Midjourney should do to help them prioritize the feature development.
You can
- Submit an idea: Suggest new features or give feedback
- Assign Points: Allocate 25 points to help Midjourney prioritize a list of ideas and features. If you value an idea 2x more, give it 2x points.
- Leaderboard: A showcase of the the most popular ideas, as voted on by the Midjourney community.
3. News
Latest announcement, updates and changelog can be found here.
Final Thoughts
The website aims to evolve into a hub for Midjourney fans, with David emphasizing the goal of transforming Midjourney into a community rather than just a tool.
More website upgrade is set to be released this year. Stay tuned!

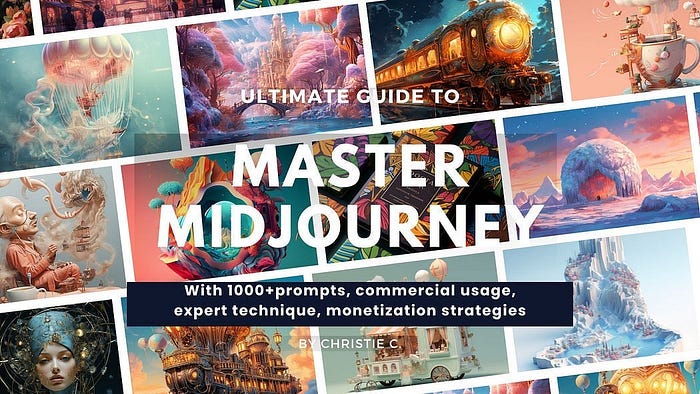
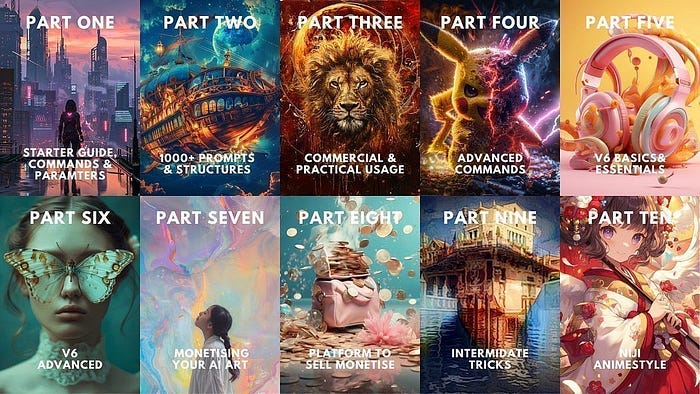
👉🏻Passive Income with AI art: Master Midjourney 🎨
Don’t Get Left Behind in the AI Art Gold Rush of 2024! Midjourney is exploding. Early adopters are raking in big bucks selling AI art online.
This is your ticket to passive income with AI art.💰- “Master Midjourney 2024: Beginner to Pro” digital guide.
It comes with:
- 🎨 1,000+ money-making prompts for stunning, sellable art
- 💡 Advanced Midjourney prompt writing, structure and techniques
- 🖼 Specialized commercial guidance for graphic design, branding, logo, UI, photography, mockup and more
- 🚀 Insider tips to maximize profits
- 💰 AI Arts Monetisation Strategies
- 💼 Top AI tools to edit Midjourney creations
💫 Buy Once, Lifetime Access🎉
This guide is designed for continuous education, new tutorials are added regularly so you stay ahead.
I’ve poured my heart into creating this guide. I hope you enjoy it ❤️
👉🏻 Gain Lifetime Access Now🚀
“AI won’t replace you, but the one who knows AI will”
Hey, Friends 👋 Christie here — An AI Art Educator & Creator 😊 Also a Coffee Lover❤️☕️
If you’re craving more Insider Tips, Prompts and Tricks for creating and generating income with AI art, join me on this journey.
🎨 Hit that “Follow” button to stay in the loop for more AI wisdom
💌 Stay tuned for more tutorials!
Let’s explore the limitless possibilities of AI Art and build passive income together! 🚀💰

