How to Produce Similar Styles with Midjourney Style Reference — 4 Advanced Tips🎨
Replicate a Style and Maintain Consistent Aesthetics Easily!
If you have read my recent update on Midjourney V6, you will know that Midjourney has just released a new consistent style feature — a highly anticipated new capability called “Style References”.
This new feature allows you to specify one or more reference images that define the aesthetic you want Midjourney to maintain across your generated images
Today, I will show you how to leverage “Style References” to explore new visual dimensions.

Today’s content will be broken down into three sections starting with a brief description of the new feature and followed by
- Part One: What is “Style References”
- Part Two: How to use “Style References”
- Part Three: 4 Advanced Tips to Further Stylization

Part One: What is “Style References”
“Style References” give you the ability to reference the style of another image or to keep a consistent style across many images.
Style References work similarly to image prompts where you give a URL to one or more images that ‘describe’ the consistent style you want to work over.
Highlight Features
- Functionality: Work similar to image prompts where you give a URL to one or more images that ‘describe’ the consistent style you want to work over.
- Use: Type
--srefafter your text prompt, followed by URLs to one or more style reference images like this:--sref urlA urlB urlC - Format:
/imagine text prompt --sref stylePrompt1 stylePrompt2 - Style Matching: The model looks at image URLs as ‘style references’ and tries to generate something that visually ‘matches’ their aesthetics.
- Goal: Create output matching the provided aesthetics
- Compatibility: Works for both V6 and Niji V6 ( Not work with V5 etc)

Part Two: How to use Style References
Step 1: Pick Your Reference Image
Use an image you generated with Midjourney or pick one online.

Step 2: Upload an Image or Copy a URL
Upload the images to Discord. You can upload more than one reference image. Upload it with the “+” side.

Step 3: Type Your Prompt
Type/imagineas you usually do. Then, input your prompt to describe the image you want to generate. Type
Type --sref after your text prompt, followed by URLs to one or more style reference images like this: --sref url
/imagine prompt: Text Prompt--sref url
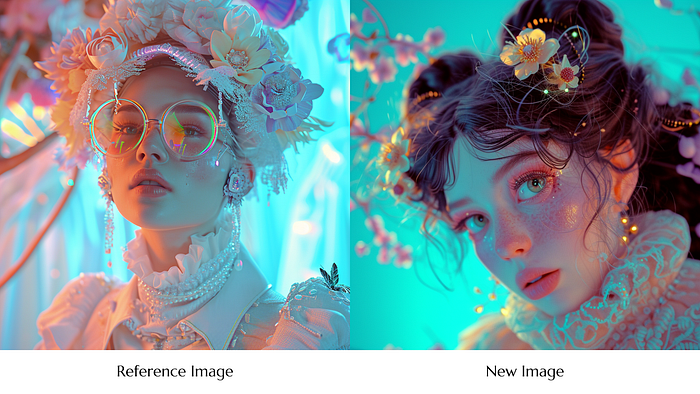
Let’s look at this example below


With the New “Style Reference” feature, I can easily combine and replicate an image's style and aesthetic.


📌 Parameters: You can add the parameters at the end of the prompt after
--sreflike aspect ratio. For example:/imagine cat --sref url --ar 2:3
Use More than One Reference
You can also use more than one reference image by including multiple URLs.
Type --sref after your text prompt, followed by URLs to one or more style reference images like this: --sref urlA urlB urlC


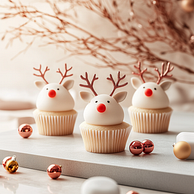
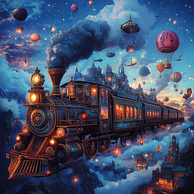
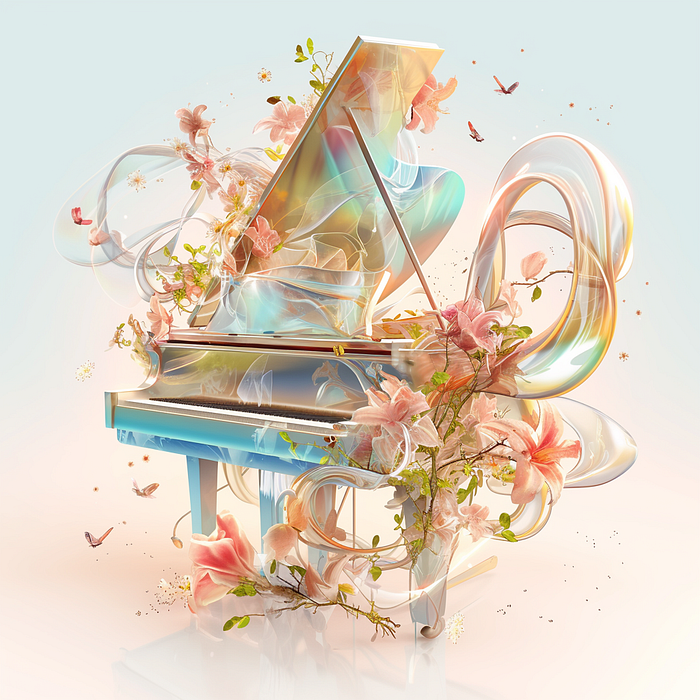
Here are the images generated with the reference images above. It perfectly combines the aesthetic above.
/imagine prompt: A { violin, bird, piano, hourglass } surrounded by flowers,--sref urlA urlB urlC


Part Three: 4 Advanced Tips to Further Stylization
You can make more customization with parameters and prompt weight. In this section, I will go over a few tricks that you can use to adjust the style of your resulting image:
- Tip 1: Set Relative Weights with “
::” - Tip 2: Set the Stylization Strength with “
--sw” - Tip 3: Image Prompts
- Tip 4: Prompt Consideration for Conflicting Styles
Tip 1: Setting Relative Weights
We can use ::to influence the prompt weights.
📌 What is Prompt Weights
When a double colon::is used to separate a prompt into different parts, you can add a number immediately after the double colon to assign the relative importance to that part of the prompt.
For “Style references” we can use prompt weights by adding a number after the URL to determine the relative importance of the reference image.
You can assign relative weights to adjust the styles like--sref urlA::5 urlB::2
Modifying the prompt to “urlA::2 urlB::5” prioritizes “urlA”, resulting in an image with urlB as a secondary elements.
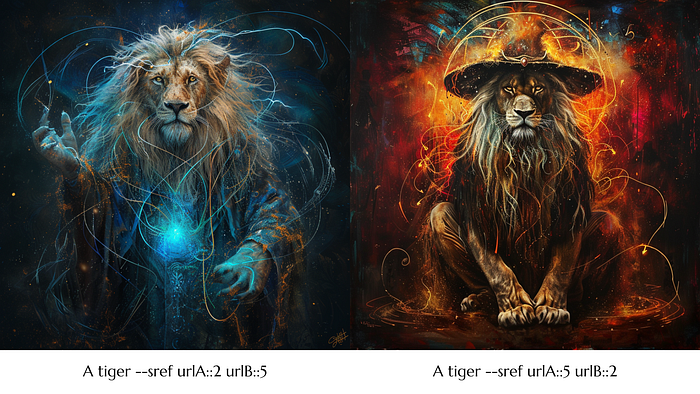
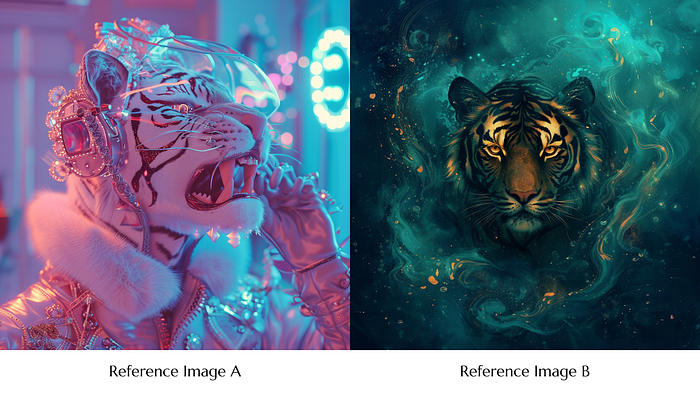
Let’s take these two images as a reference


Image One: urlA::2 urlB::5
Image with “Reference Image A” having weights of 2 and “Reference Image B” weighting 5
/imagine prompt: A lion wizard--sref urlA::2 urlB::5

Image One: urlA::5 urlB::2
Image with “Reference Image A” having weights of 5 and “Reference Image B” weighting 2
/imagine prompt: A lion wizard--sref urlA::5 urlB::2

Here, you can see how prompt weights affect the results.
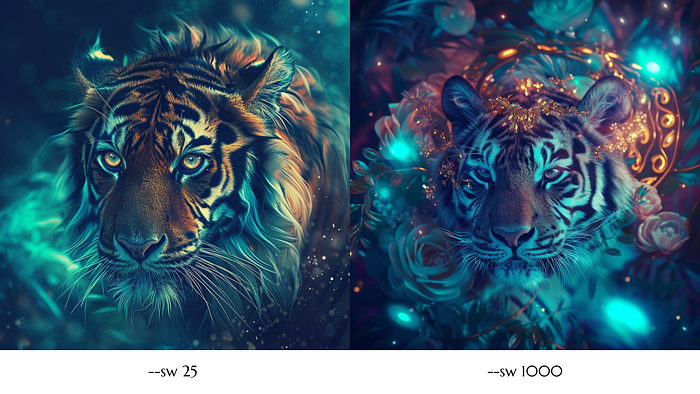
Tip 2: Set the Stylization Strength with "--sw"
You can set the total strength of stylization via --sw 100(100 is default, 0 is off, 1000 is maximum)
Image Weight (--sw)
- To increase the influence of the style, apply a style weight (
--sw) that is closer to 1000. - To diminish the power of the style, set the weight closer to
--sw 0(default is 100).
Let’s take these two images as reference this time

/imagine prompt: A tiger--sref urlA urlB --sw {25,1000}
Tip 3: Use Image Prompts to influence the Result
Besides the text prompt, you can use an image prompt together with a “Style Reference”
📌 What is Image Prompt
You can use images as part of a prompt to influence a Job’s composition, style, and colors. Images prompts can be used alone or with text prompts — experiment with combining images with different styles for the most exciting results.
To use an image prompt, it must go before --sref like this/imagine cat ninja ImagePrompt--sref stylePrompt
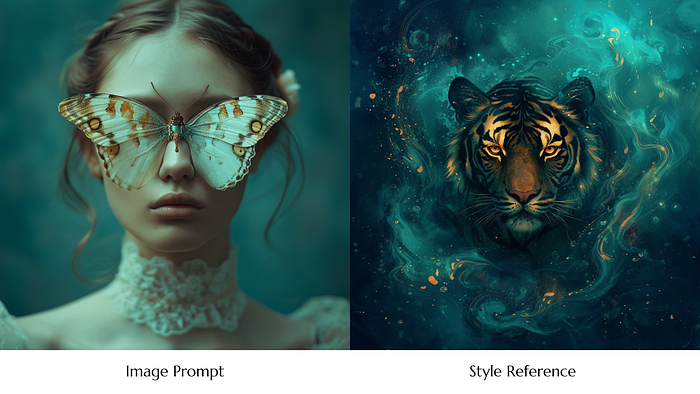
A girl with a butterfly covering her eyes
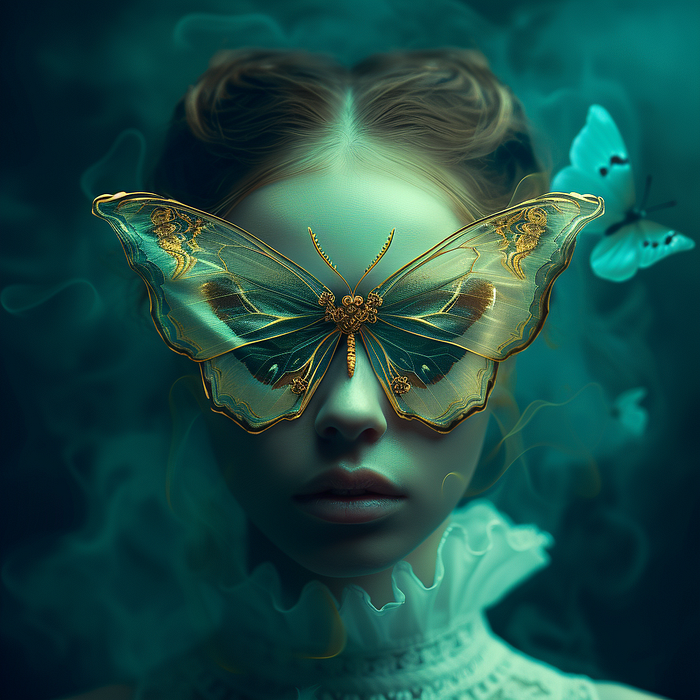
/imagineA girl with a butterfly covering her eyesImagePrompt --sref URL
Here is the resulting image
Tip 4: Prompt Consideration for Conflicting Styles
If you want to introduce a conflicting style like illustration to your photorealistic prompt, you may still need to add some text to specify your preference.
Like this example below, I added the text “cartoon”
/imagine prompt: Cartoon style girl--sref url— v 6.0
Things to Take Note of:
Impact of Style References:
- There is no direct effect on image prompts
- This applies only to jobs with at least one text prompt
- It works for both V6 and Niji V6 ( Not work with V5 etc)
I hope you enjoy the guide today and the advanced tips. I love this new feature so much! This works so much better than--seed and time-saving.
Next- Make Money with “Style Reference”
👉🏻Passive income with AI art: Master Midjourney 🎨
Don’t Get Left Behind in the AI Art Gold Rush of 2024! Midjourney is exploding. Early adopters are raking in big bucks selling AI art online.
This is your ticket to passive income with AI art.💰- “Master Midjourney 2024: Beginner to Pro” digital guide.
It comes with:
- 🎨 1,000+ money-making prompts for stunning, sellable art
- 💡 Advanced Midjourney prompt writing, structure and techniques
- 🖼 Specialized commercial guidance for graphic design, branding, logo, UI, photography, mockup and more
- 🚀 Insider tips to maximize profits
- 💰 AI Arts Monetisation Strategies
- 💼 Top AI tools to edit Midjourney creations

📚 Continuous education
This guide is designed for continuous education, new tutorials are added regularly so you stay ahead. With lifetime access for a single purchase, it’s the gift that keeps giving.
I’ve poured my heart into creating this guide. I hope you enjoy it ❤️

Hey, Friends 👋 Christie here — An AI Art Educator & Creator 😊 Also a Coffee Lover❤️☕️
If you’re craving more Insider Tips, Prompts and Tricks for creating and generating income with AI art, join me on this journey.
🎨 Hit that “Follow” button to stay in the loop for more AI wisdom
💌 Stay tuned for more tutorials!
Let’s explore the limitless possibilities of AI Art and build passive income together! 🚀💰
Midjourney V6 Essentials
With guide for text generation, prompt multiple objects and techniques for stunning images. Save the list and never miss any updates and tutorials