Unity tip of the day: elevator system for 2D platformers
Elevators for 2D platformers are a very fun feature to add. They can be used to allow the player to traverse levels in buildings, and in our case we will use it as a puzzle element where the player has to collect a certain number of coins or whatever you want before being able to call the elevator and move to a higher location.

Objective: Elevator System
The elevator system will be made of two parts, a switch panel and the elevator itself.
The elevator

Create a Parent gameObject call it elevator, and inside it add the elevator platforms. The platforms will move, but the elevator parent will stay still. This will help with the waypoints that we will setup. Create two empty gameObjects that will act as our waypoints, Point A and B. One is the position of the elevator, and the second one should be near the switch that we will create later.
Then let’s create a C# to the parent object of the elevator parent. Moving the elevator is similar to moving the platforms (Read article here) but with a condition to know if the elevator is called to the switch panel or away from the panel.

The Switch Panel
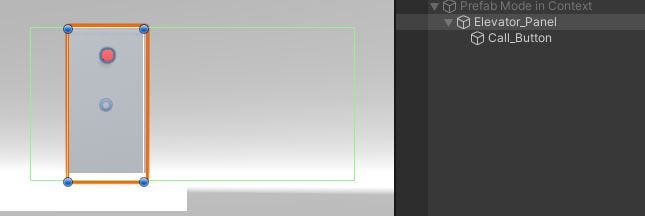
The elevator panel will be position on the same level as one of the elevator waypoints and we added a small circle to act as a light. Make sure to add a box collider with its trigger checked and extended to include the position of the elevator, and add also a kinematic rigidbody.
Add a C# script to the panel. We will add a condition that the player can only call the elevator if they have collected a certain amount of coins.

The player calls the elevator and then gets on it and pressed the key again to move the elevator.


