Midjourney New “Style Tuner”- Advanced Tips and Usage
Learn How to Save and Reuse Your Style Code
Exciting News! Midjourney introduced an exciting new feature — the Style Tuner! This gives users more control over the “personality” and style of generated images. You can now train your own style!
The Style Tuner goes beyond just aesthetic elements like color and lighting. It influences Midjourney’s approach to details, textures, and the overall mood or vibe of generated images.
Today, I will teach you how to use this style tuner to explore new visuals and most importantly, save and reuse your style code easily!

Midjourney
Midjourney’s AI Art Generative Tool is a revolutionary and powerful AI program that unleashes your creativity and helps you generate beautiful visuals with the help of artificial intelligence and machine learning.
Follow this beginner’s guide to Midjourney if you are just starting:
🎨 Style Tuner
Style Tuner allows you to personalize the appearance of your Midjourney images. It lets you customize and optimize Midjourney’s model to consistently generate images with colors, textures, character details and more to your liking.
/tuneis only compatible with Midjourney V5.2/tuneis only available in Fast Mode.--stylecreated with the Style Tuner are compatible with--stylize <20–1000>
Today, I will share with you
- Part One: How to Use Style Tuner
- Part Two: Three Ways to Explore New Visuals
- Part Three: Save and Reuse your Style Code
Part One: How to Use Style Tuner
Step 1: “/tune”
Create a Style Tuner page using the /tune command.

Step 2: Pick Base Styles and Mode
You’ll get to pick how many base styles (16/32/64/128) you want to be generated — more options mean higher GPU cost.
Click the Submit button to submit your job. You will need to confirm your submission.

Step 3: Head over to your page
Once the Style Tuner finishes, you’ll receive a specialized URL. Visit the Style Tuner webpage.

Step 4: Fine-tune the aesthetics
You will be shown a list of styles. Fine-tune your aesthetic by picking your favorites.
📌 It is recommended to pick your favorite 5–10 styles.
Your Style Tuner will show rows of image pairs, each representing a distinct visual direction. Click on the image you prefer in each pair.

You can also view the styles from a big grid and pick your favorite.

Step 5: Use Your Style Code
After customizing your own style code, use it in your prompt like this “/imagine a cup of coffee --style code” to make Midjourney adopt that style.

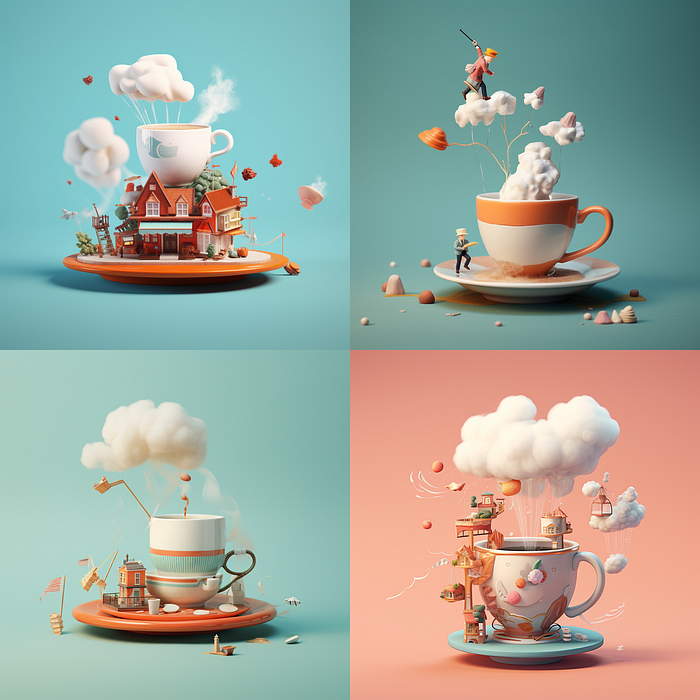
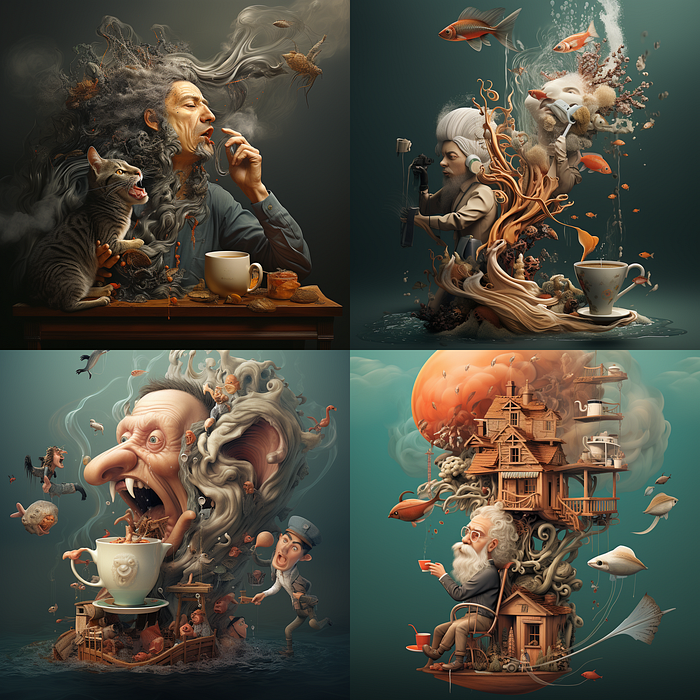
Here are three more created with the same style code
A computer, A caravan and a headphone


Step 6: Multiple Styles with a Single Style Tuner
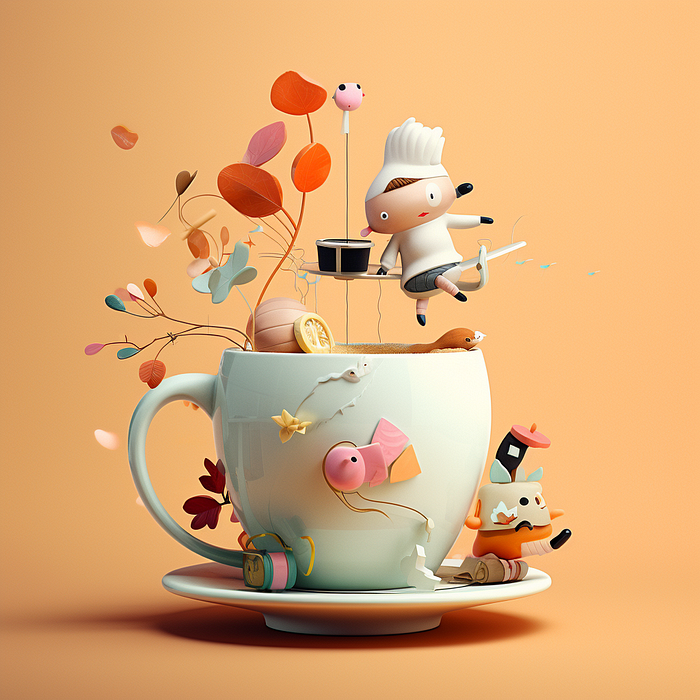
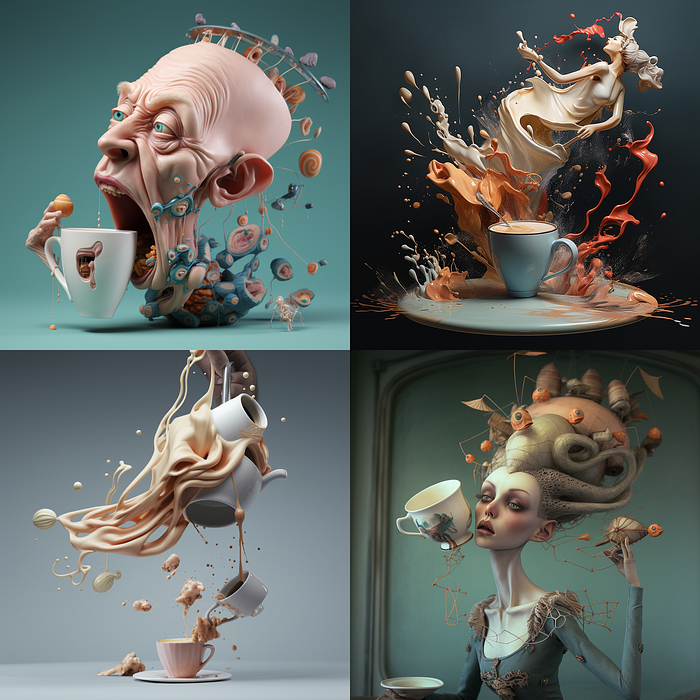
You can make tons of styles with a single-style tuner! Simply select a different set of preferred styles when fine-tuning your aesthetics and you can get a completely new style.
For example, these three styles are trained with the same style tuner and they are completely different.


✨ The images you choose in your Style Tuner can combine in unexpected and creative ways.
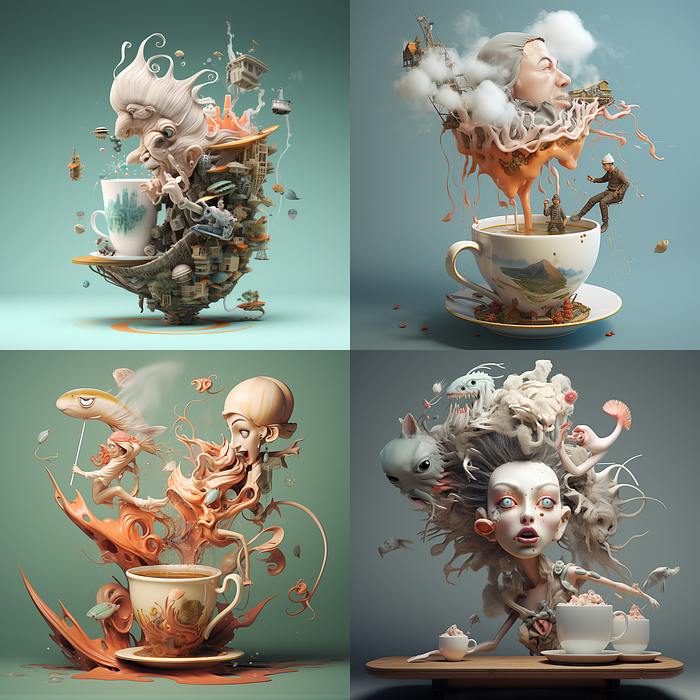
📌 Please note:
Styles are optimized for your prompt and may not always transfer as intended to other prompts (ie: a cat style may act unexpectedly for cities, but a cat style should transfer to a dog)
For example, the same style code may act unexpectedly on an animal like this example below:

Part Two: Three Ways to Explore New Visuals
Style Tuner is more than training one single model. Here are three ways to explore new looks and visuals.
1. Random Style
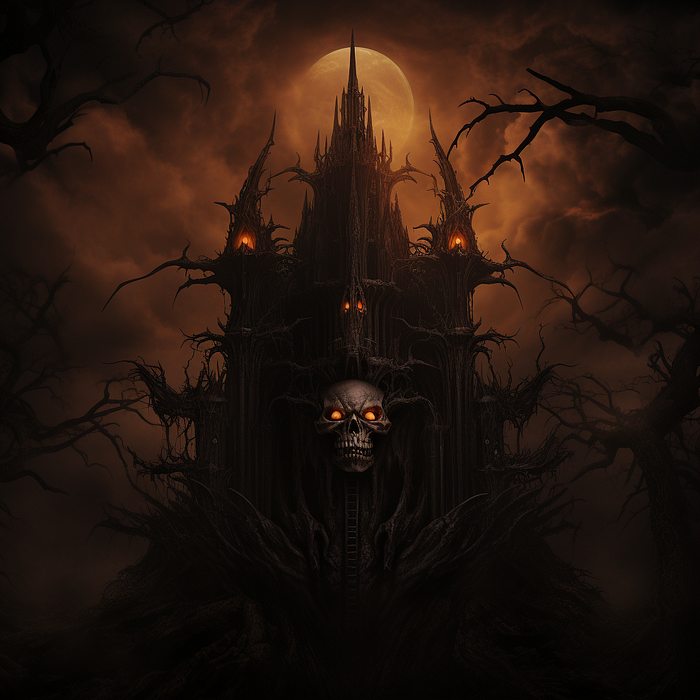
If you love surprises, try using --style random, Midjourney will give you a random style code every time.

This is a random style code Midjourney gave me “ 47yjVydFFTB6hY52” and here is the result I got. Pretty interesting, right?

This allows you to explore new styles. I found this style code great for the haunted scenes and used the code to create a haunted castle.
📌 Tip:
--style randomapplies a random 32-base styles Style Tuner code to your prompt.You can also use
--style random-16,--style random-64or--style random-128to use random results from other lengths of tuners.
2. Combine Style
Codes can also be combined and customized via “--style code 1-code 2”. Use this to explore new styles.
See this example below.
Prompt: A cup of coffee
--style vGMYJ0jeJLAyzhb-gDPC0ZM2xi3NS
3. Style Tuner and --stylize
The --stylizeparameter adjusts the influence of the --style parameter on your generated images.
If you're not seeing the desired effect from your code, consider combining it with higher stylization values, like
--stylize 250, or--stylize 500.
Example without using stylize parameter

Example of --stylize 250
Example of --stylize 500
As you can notice, there is a bigger difference when using --stylize 500
Part Three (Advanced): Save and Reuse Your Style Code
Since the code is a random combination of numbers and letters, it’s not easy to remember. Here are two ways to save and reuse your code
📌 Tip 1. Reuse Code with Sticky Style
Sticky Style will save the last --style parameter used in your personal suffix, so you don't have to repeat the code on future prompts.
Use the /settings command and turn on 📌Sticky Style.
When📌Sticky Style is turned on, you just need to type your prompt and it will automatically attach your style code at the end.
Change codes by using a new
--style
📌 Tip 2. Save Code with Custom Option
Another way is to use custom options to store your favorite codes.
/prefer option set <name> <value> Creates a custom parameter that you can use to add multiple parameters to the end of prompts quickly.
/prefer option set <Name: Style> <Value: Style Code>
Next time you just need to type the “--Style Name” you set without needing to copy and paste every time.

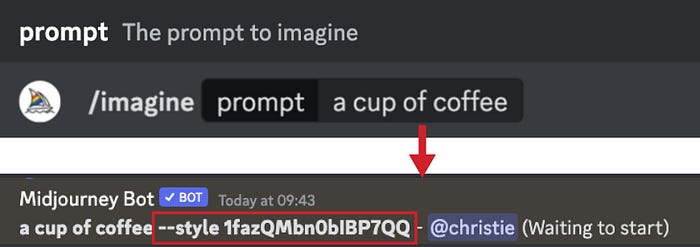
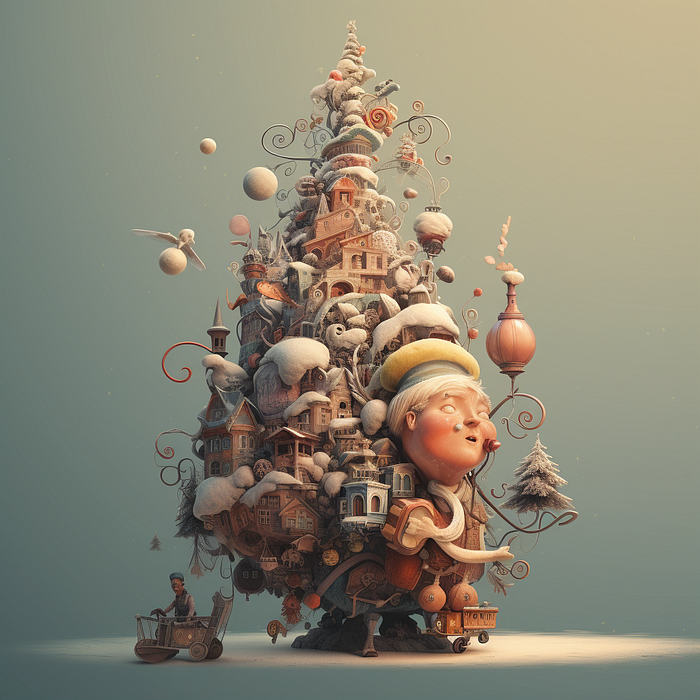
/imagine prompt: A Christmas tree --surrealis interpreted as /imagine prompt: A Christmas tree--style 1fazQMbn0b1BP7QQ
With these two tricks, you will never need to remember those long numbers!
Final Thoughts
Midjourney’s Style Tuner allows new levels of personalization and control. Style codes and prompts interact in complex ways. A code may have a strong effect on one prompt and a subtle effect on a similar prompt.
I recommend you have lots of experiments. It’s an enjoyable experience as well. I hope you found value in this article.
👉🏻 Digital Guide: Master Midjourney 🎨🚀
If you are looking for more ideas and advanced tips for generating captivating AI art with Midjourney, I have also created a “Master Midjourney: Beginner to Pro” digital guide for you guys.
It is perfect for both hobbyists and professionals, it distills expert techniques and hard-won wisdom into one powerful package.
It comes with:
- 🎨 1,000+ expert prompts
- 💡 Advanced Midjourney prompt writing, structure and core techniques
- 🖼 Specialized guidance for graphic design, branding, logo, UI, photography, and more commercial uses
- 🚀 Pro tips to recreate styles, make avatars, generate anime artwork, and more
- 💰 AI Arts Monetisation Strategies
- 💼 Top AI tools to edit Midjourney creations

I’ve poured my heart into creating this guide. I hope you enjoy it ❤️
Hi👋 I am Christie — a multimedia designer and Midjourney fanatic.😊
If you’re craving more insider tips, prompts and tricks for tools like Midjourney, I’d love for you to join me on this journey.
🎨 Hit that “Follow” button to stay in the loop for more AI wisdom
💌 Stay tuned for future updates
Let’s explore the limitless possibilities of AI together. The future awaits. Let’s seize it! 🚀

