Member-only story
How to use Figma’s auto layout resizing function
Everything you need to know about Figma’s most powerful features of auto layout
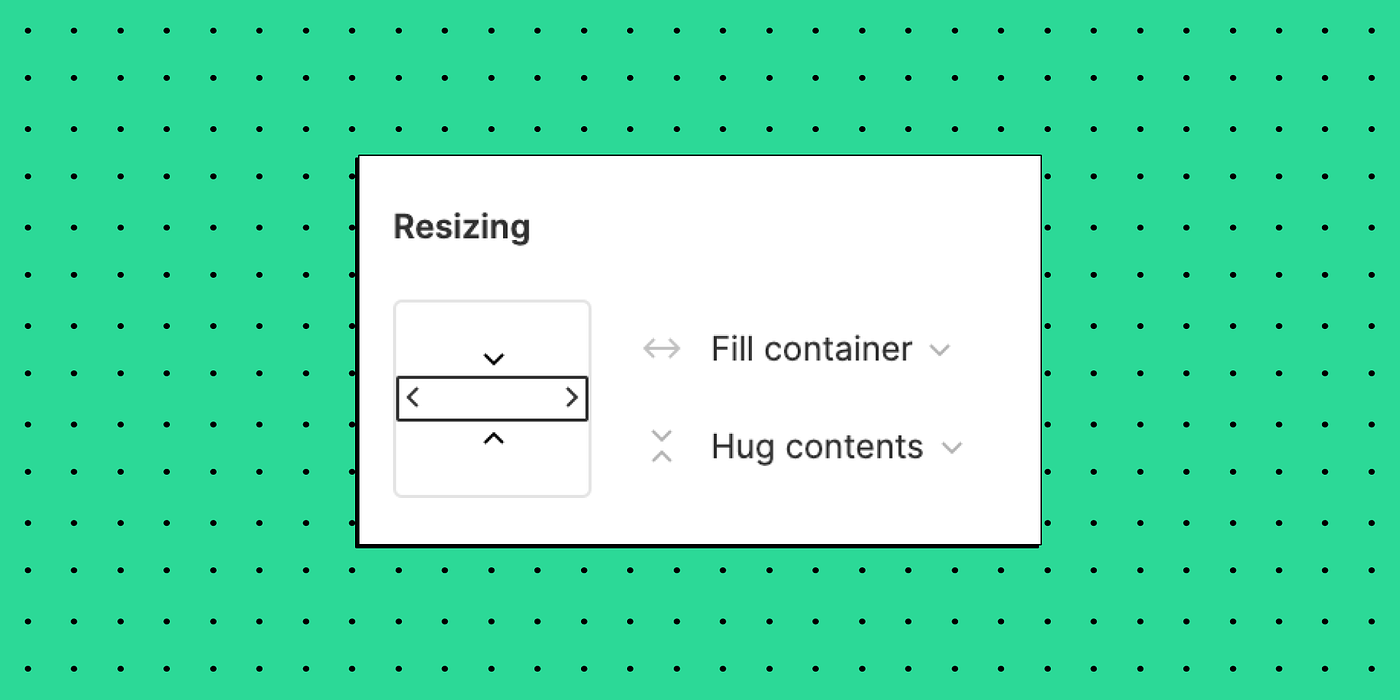
Adding auto layout allows you to use the resizing function to control the dimensions of the objects in your frame. The resizing function has three properties: Fixed width or height, Hug contents, and Fill container.
Within an auto layout frame, you can apply resizing to:
- Objects on both the vertical and horizontal axis
- Text layers
- Shape layers
- Nested auto layout frames
Fixed width or height
When an auto layout frame is set to fixed width or height, the frame doesn’t dynamically respond to change in the objects.
Hug Contents
Dynamically resizes the auto layout frame to be as small as possible to surround the objects inside of it.
🪄 Example of how hug contents resizes the frame around the objects inside.

Adding auto layout to the parent frame defaults to hug contents on both axes, and automatically resizes the frame around the objects. Additionally, updating the padding around the objects keeps the parent frame hugged around the objects.
🪄 Example of a nested object that grows with the parent container

Here the parent frame has auto layout and resizing is set to hug contents for the horizontal axis. The nested frame has also had auto layout and is set to hug contents for the horizontal axis. As you can see in the demo above, both frames grow together horizontally.
Fill Container
Objects inside will stretch to the width and/or height of the auto layout frame.
🪄 Example of using fill container on text

