How to Create an Epic Illustrated Mural: A Digital Artist’s Guide
Have you ever thought about what it takes to make a large scale mural as a digital artist but weren’t sure where to begin? I’ve received many questions about this over the years and I’ve struggled to find the right resources to provide satisfactory answers, so I decided to make my own comprehensive walkthrough on the subject.
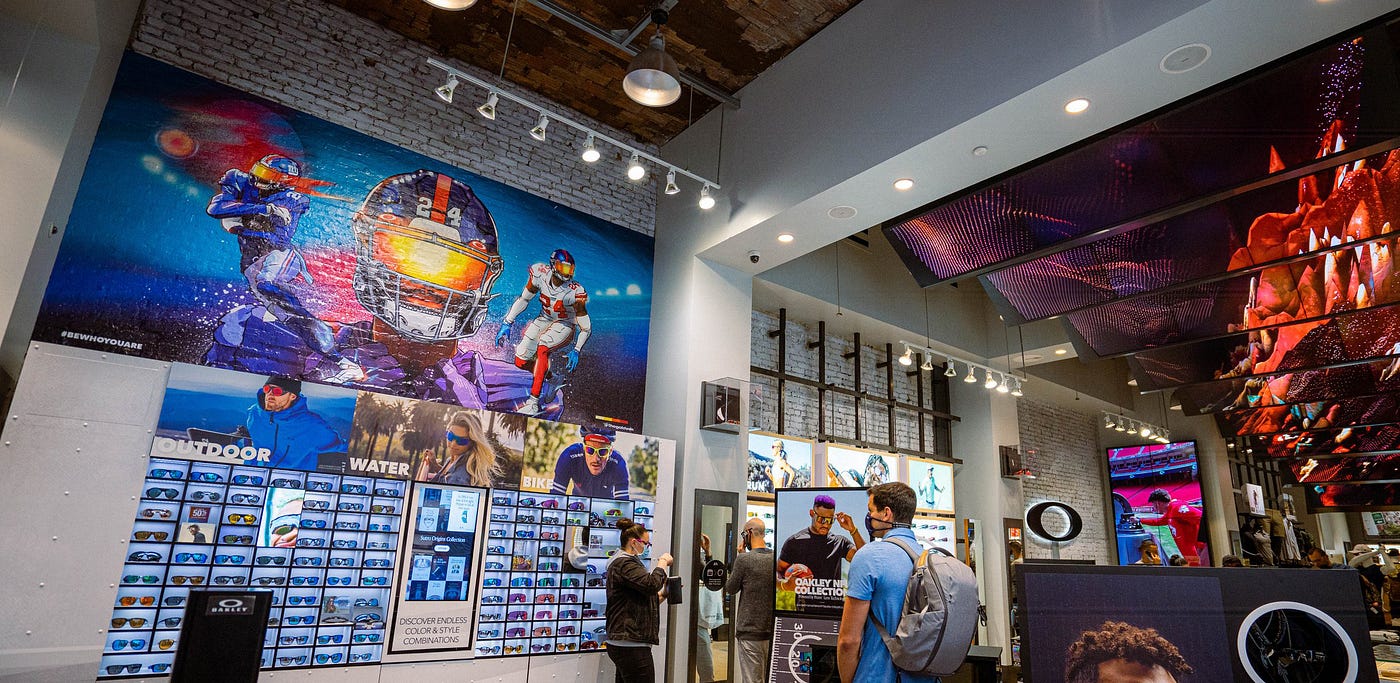
In this article, I’ll take you on a deep dive into the creative process behind making a large mural for a triple-A client using only digital tools. Drawing on my own experience of creating an NFL mural for Oakley’s flagship store in New York City, I’ll share valuable insights into everything from working with clients to designing the hero image while navigating technical constraints.
So if you’re a digital artist who is ready to break free of the confines of the small screen and take your work to new heights, keep reading to learn how to create a stunning digital mural with this step-by-step guide.

Background
In 2021, the Oakley marketing team approached me about a potential partnership to create a mural for their 5th Avenue store, kicking off the NFL season. The partnership was focused on the creation of a hero image based on New York Giants’ cornerback James Bradberry IV, extension of the artwork to merchandise, editing it for a variety of use cases, creation of separate T-shirt designs, and a live-drawing event.
In the following steps, I’ll demystify the process and break down my experience of creating a mural for the Oakley flagship store.
Mural Process
The first step in any digital mural project is similar to smaller scale illustration jobs, it’s essential to work with your client to establish an organized plan of attack. The goal here is to land on a creative vision for the final piece and answer all of your technical questions up front.

In this case, we needed to determine the dimensions of the mural, the installation process, and how the art will be used (on a wall, merchandise, marketing materials, digitally, printed, etc). It’s also important to establish a budget and timeline, as well as usage rights for your artwork.
Regarding the creative, this process differs based on every artist’s style, since we were representing our NFL athlete in a figurative way I wanted to know if we had photo reference. As Bradberry was sponsored by Oakley, we had an entire photoshoot to work from. From here I could begin the sketch phase and start to create options for the client using Photoshop and my trusty ol’ Wacom tablet.

Sketch Phase
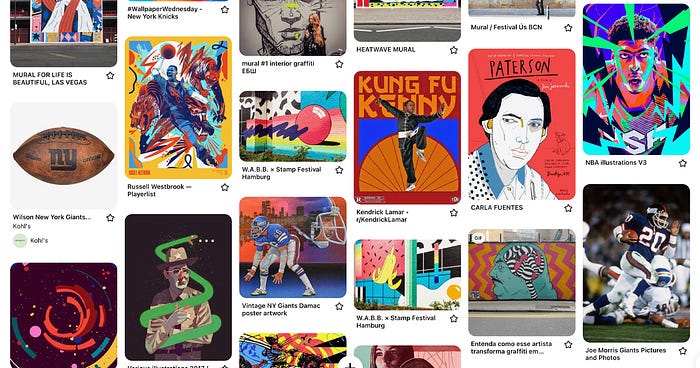
The next step was to create some rough sketches within the dimensions of the final piece, which were 164” x 78” or about 13.7 feet wide by 6.5 feet high. I set up my Photoshop file at 11952px x 5760px at 72dpi (more on this later). My process usually begins with a moodboard, then some sketch options.
I then created about 3–4 rough sketches to establish the composition before sharing progress for feedback and refinement. We like to show our work in slideshow format to keep it all in one place, show the progression, and of course… keep it profesh! I typically use Google Slides for this.
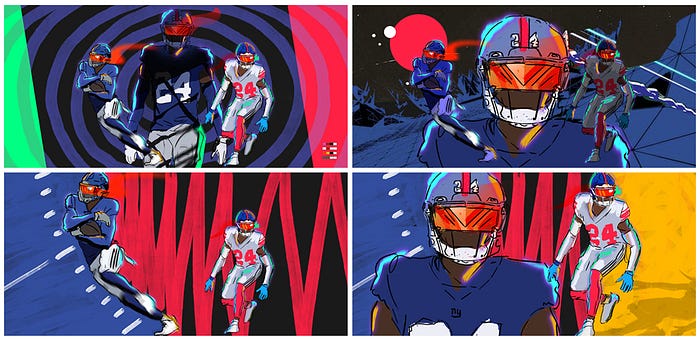
We settled on a main central close-up to highlight Oakley’s Prizm lens, with 2 full-body action shots flanking our hero’s helmet. From here I was able to start working on more detailed renders.
💥 A note on dimensions and file sizes: To avoid any unexpected surprises, it’s crucial to collaborate with the printing vendor early on in the process. For our Oakley mural, we knew the dimensions and that it would be a vinyl print installation. Surprisingly, we discovered that a 72dpi file would be sufficient for the vinyl print. While those of you with a design background may be accustomed to using 300dpi files for print, this project proved that it’s not always necessary, especially for large-scale murals that are meant to be viewed from some distance. This saved my machine a lot of headaches during the work process.
Revisions
The next phase was revisions. We had our composition worked out and details being rendered, now it was time to work with the client on a few rounds of edits.


This is where we’d focus on details like color tweaks, use of texture, fleshing out the background and any changes that may get in the way of the client’s goal. If you’ve followed this roadmap, after settling on a sketch it’s mostly smooth sailing as details are rendered.
Final Artwork Delivery

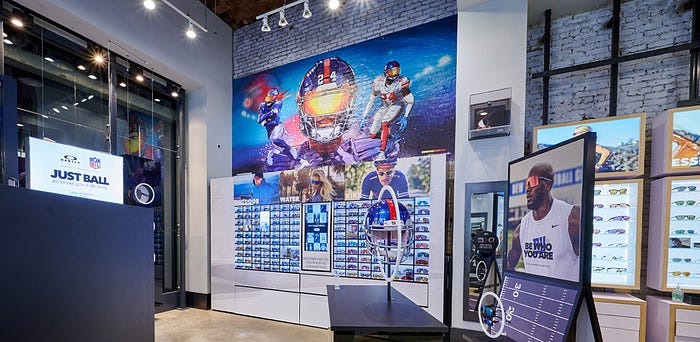
Now that we’d landed on final artwork I had to deliver files for the vinyl mural print as well as some of the add-on pieces. As mentioned, the final file was 72dpi and exported as a high-res JPEG. I created an alternate version of the artwork as a photo background for in-stadium events and another to be printed on tote bags. The stadium team worked with a vendor who required a PDF export instead. I only mention this to point out that there were different deliverable formats but everything extended from the main image very easily.


T-Shirt Design
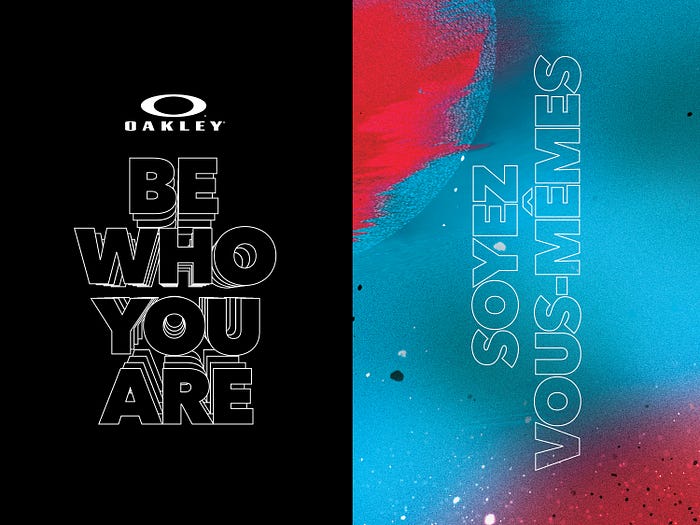
For the final stage of the project, we were tasked with designing T-shirts for Oakley store employees in both the US and Canada, requiring designs in both English and French. The focus was centered around Oakley’s “Be who you are” campaign, serving as the backbone of the design.
Our design process included multiple iterations of potential designs with combinations of imagery and typography, as well as tagline explorations for “Be who you are.”


To help your client visualize the final product, I recommend creating mockups of your designs on an actual T-shirt. Then present all the design iterations in your preferred slide presentation tool (as mentioned, I used Google Slides) to showcase the breadth of work and maintain a professional touch. Add a recap so they can see the highlights in one place:


In the end, we settled on a type design I called “echo”:


These are the final shirts that were worn by store employees.
So there you have it! Creating a digital mural just requires some basic planning and good communication. By following these steps you’ll be able to create a memorable and visually striking mural that you can be proud of. Whether it’s for a commercial space, public installation, or personal project, this process can be adapted to suit your needs and creative vision.
📌 Let’s stay in touch!
If you found this guide helpful, be sure to visit goldvan.co for more case studies, and follow me on Instagram and right here on Medium to stay up to date with our latest projects!

