How to use cubic Bézier curves in Jetpack Compose
Did you know that you can create custom shapes in Jetpack Compose? And have you ever wondered how to define unique curvy shapes? Today, we will explore how to utilize the power of Bézier curves in Jetpack Compose, and we will walk through the process of creating a custom shape using them.
So, what exactly is a Bézier curve?
According to Wikipedia:
A Bézier curve (/ˈbɛz.i.eɪ/ BEH-zee-ay) is a parametric curve commonly used in computer graphics and related fields. It defines a smooth, continuous curve through a set of discrete ‘control points’ using a specific formula.

Bézier curves offer us the ability to achieve intricate levels of detail when crafting custom UI elements. They allow us to draw any precise shape on a Canvas (similar to what Vikas demonstrated in his insightful post:
and also provide control over the borders of components like a Card, which we’ll explore today.
The Design Spec

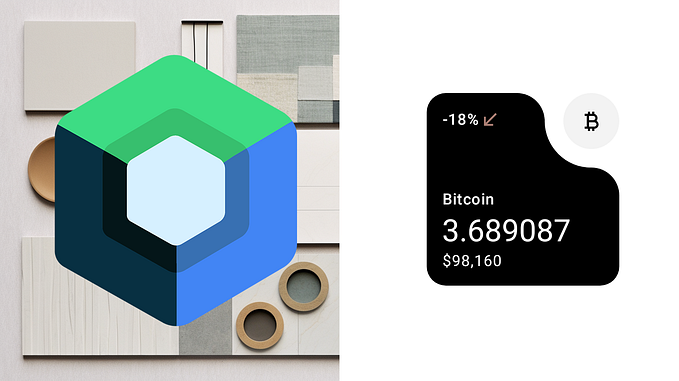
In a prior article, we explored the implementation of this distinct piece of UI, and indeed, we applied some Bézier curves within it to sketch the “S” shape behind our composable. You can find the comprehensive details here:
While our end outcome closely mirrors the specification, there’s still space for enhancement around its edges (literally!). So, let’s smooth them out using Béziers and a customized Shape.

Let’s break down cubicTo()
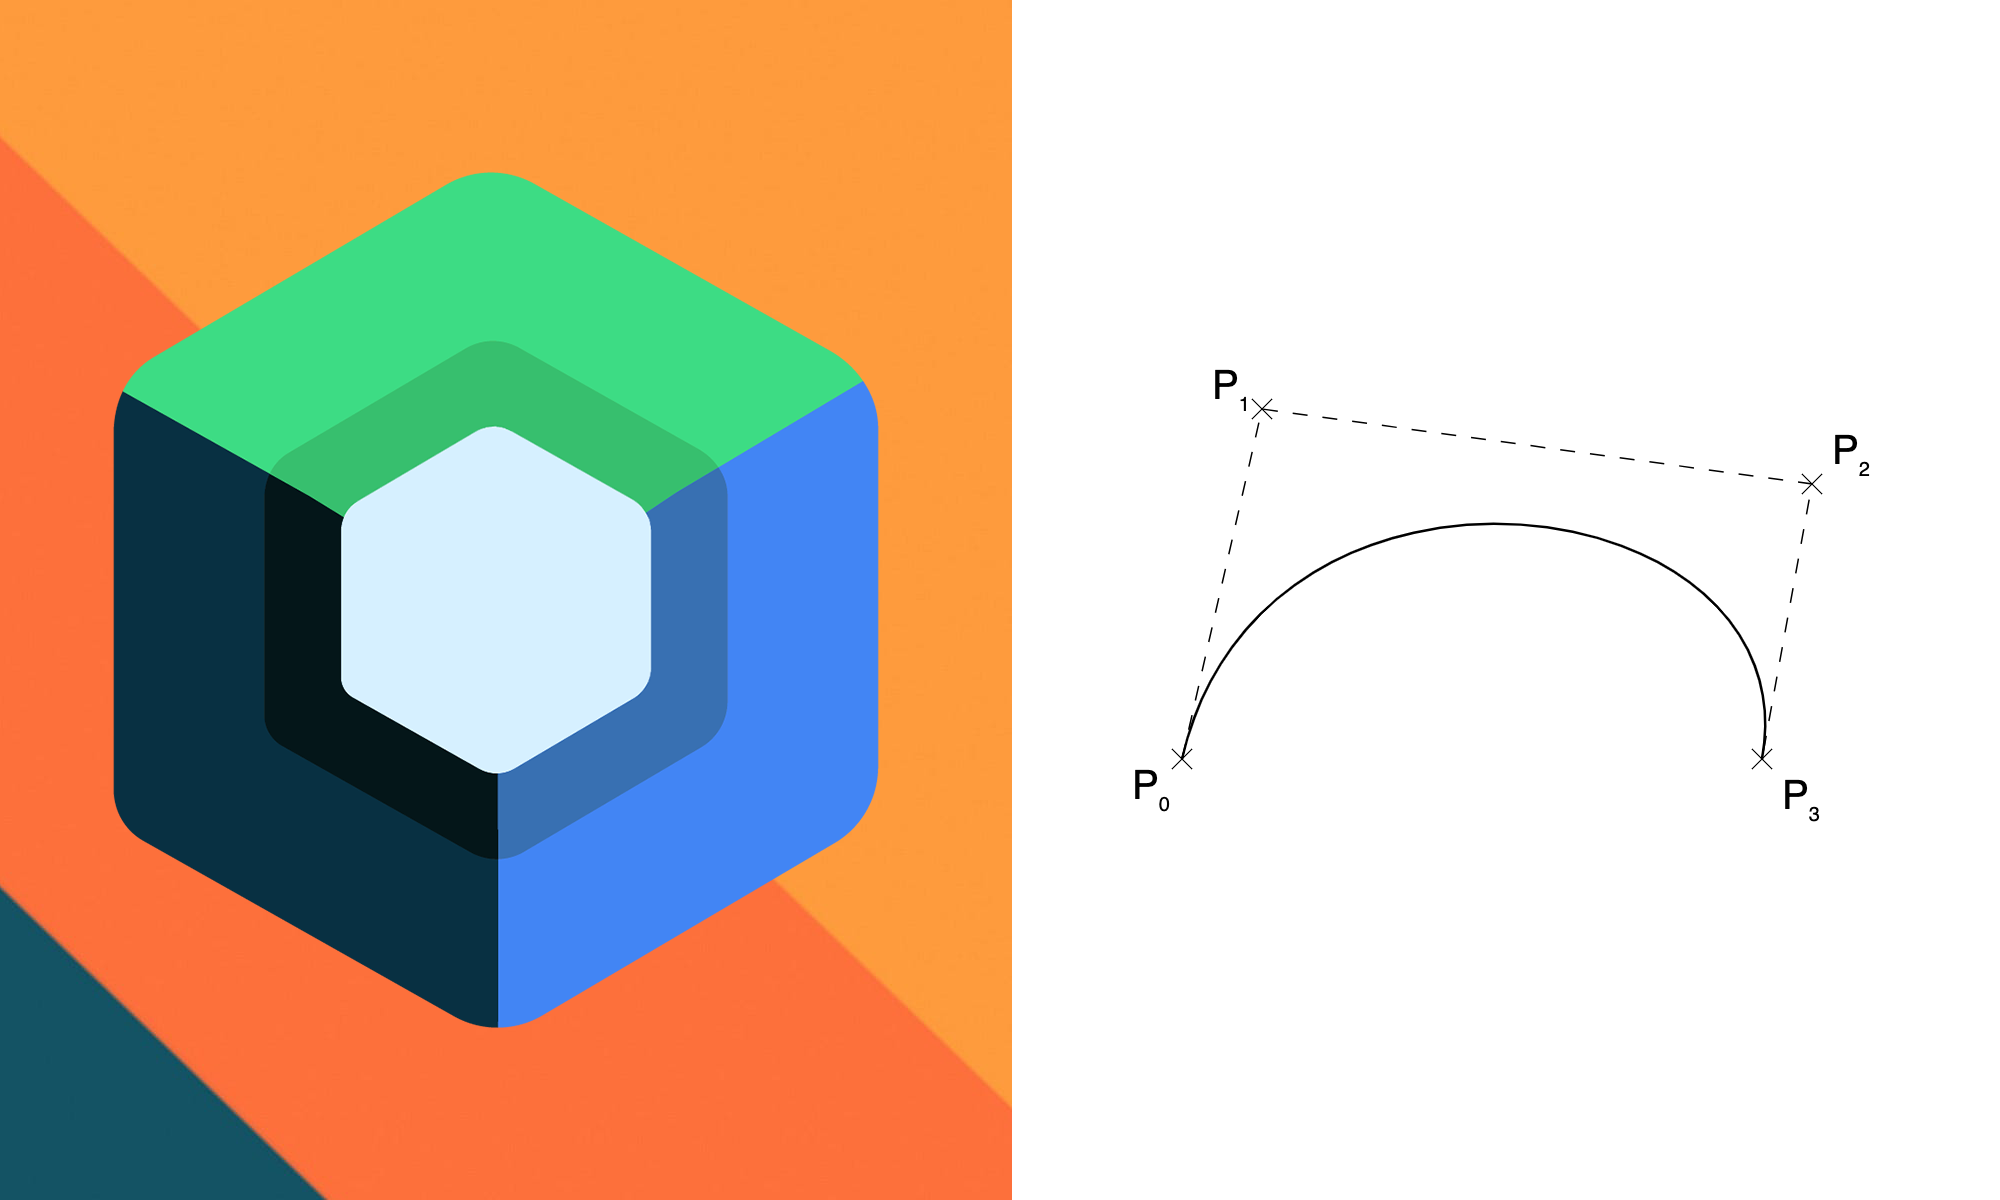
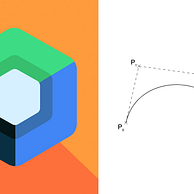
To make understanding cubicTo() easier, I found a website where you can interact with a Cubic Bézier curve: https://cubic-bezier.com/
The fundamental idea behind Cubic Béziers is that you define a point where the line should be drawn (x3, y3), along with two control points (x1, y1) and (x2, y2) that influence the curvature of your line. These control points essentially “guide” the shape of the curve. You can learn more about the cubicTo function in Jetpack Compose here.
Creating a Unique Path on a Canvas
As mentioned before, our goal is to craft a distinct shape for clipping our Card element. To simplify matters, I suggest utilizing a Canvas Composable in a separate file to sketch out the path. Doing so streamlines the process of previewing your custom shape prior to incorporating it into the IDE Preview.
Now that we have this foundation in place, our next step is to commence crafting our custom shape. The essential tools we will employ include:
- The moveTo() function, which directs the canvas where to initiate the path drawing.
- The lineTo() function, used to sketch a line from the current point to the subsequent one.
- The cubicTo() function, enabling us to incorporate our Bézier curves into the path.
Pro Tip: When engaging with the Canvas at this level, it’s advisable to begin by grabbing a piece of paper or your preferred drawing tool. Mapping out our intentions beforehand significantly reduces the need for trial and error in the subsequent stages!

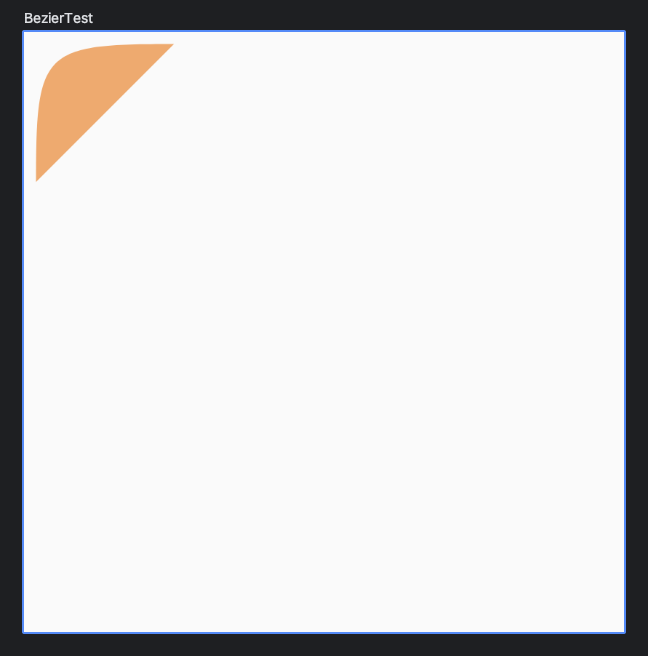
Now we want to draw a cubic Bézier from that point to the point (x=25%, y=2%) and for the control points we’ll use coordinates 1 (x=2%, y=3%) and 2 (x=3%, y=2%). Once again the percentages always referring to the available width for x and available height for y, but remember they are representing a point in the Canvas.
And lets use these variables in our cubicTo function:
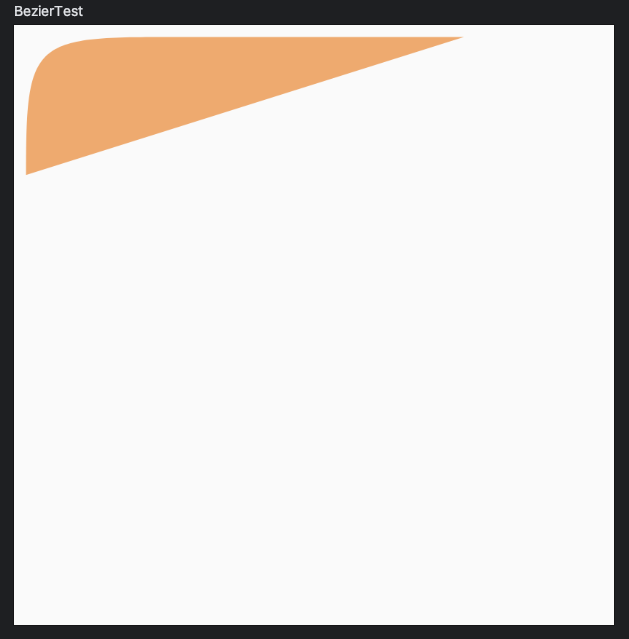
Just for visualization purposes I’ll colour our 2 control points in the Canvas with Red for control point 1 and Blue for the second.
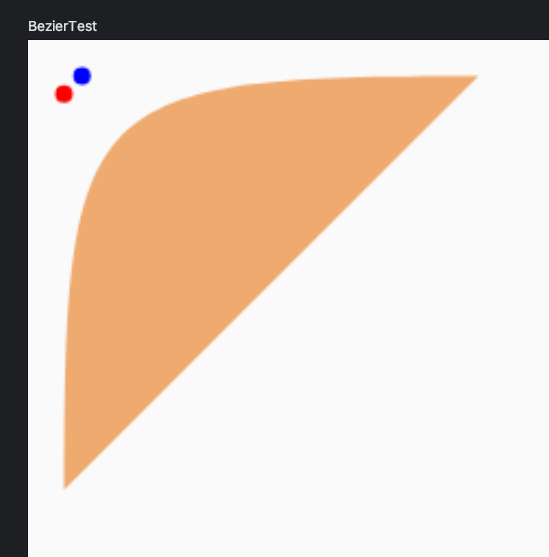
Following our initial hand drawn sketch; we now need to trace a line to coordinates (x=75%, y=2%) so we’ll use lineTo for this:
Now let’s just repeat the process and complete our sketch, remember; cubicTo -> lineTo, until we finish the shape
Creating a Custom Shape
Now that we’ve finished defining our Path with the help of a Composable, let’s create a Custom Shape Class so we can use it to clip our original Composable.
To do this in Compose we simply create a new class and make it extend the androidx.compose.ui.graphics.Shape interface
As the createOutline() function needs to return an Outline type element we’ll use the Outline.Generic() builder that supports a Path as parameter and pass our path into it.
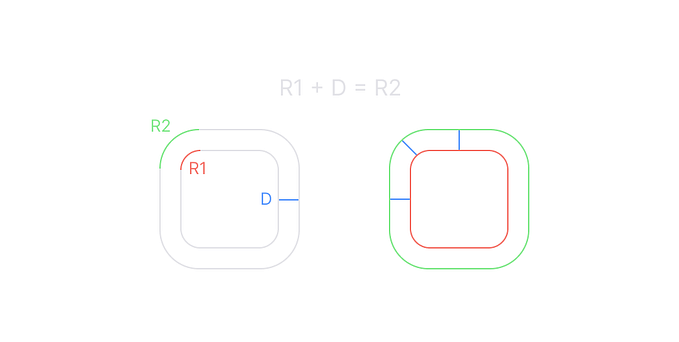
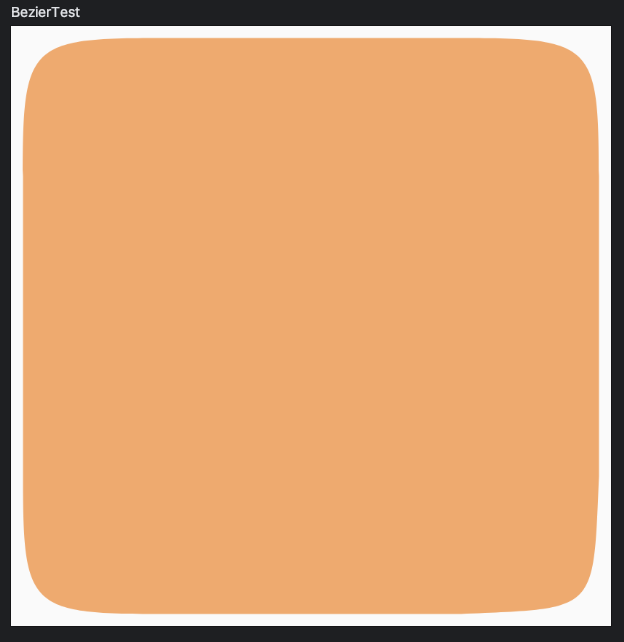
With our Custom Shape ready we can now use it to clip our views so our last step is going to be to update the current clip from a RoundedCornerShape() to be our brand new CubicBezierCardShape()

Now that looks much closer to the spec! This is a comparison between the RoundedCornerShape we were using and our custom shape:

And this one against the spec:

Final Thoughts
Utilizing cubicTo, we’ve successfully crafted a shape that closely corresponds with our Designer’s vision. Furthermore, by extending from the Shape class, we unleash the potential to craft even the most imaginative Custom Shapes within Compose, capable of effortlessly clipping any view to our creation.
If you want to try out the full example or have a deeper look into it you can find it here
And the whole series on this specific design spec here


We’ll continue developing the home screen of this design in an upcoming post but for now I’ll say this part of it looks ready. Thanks for reading this far and I hope you learned something new today! 🧉